This article is broken up into several sections. Use the links below to go to the section you are interested in.
- Manage Team Page
- Adding a New Team Member
- Find an Existing Team Member
- The General Tab
- Time Entries Tab
- Notes Tab
- Files Tab
- Delete a Team Member
- Customize Team Records
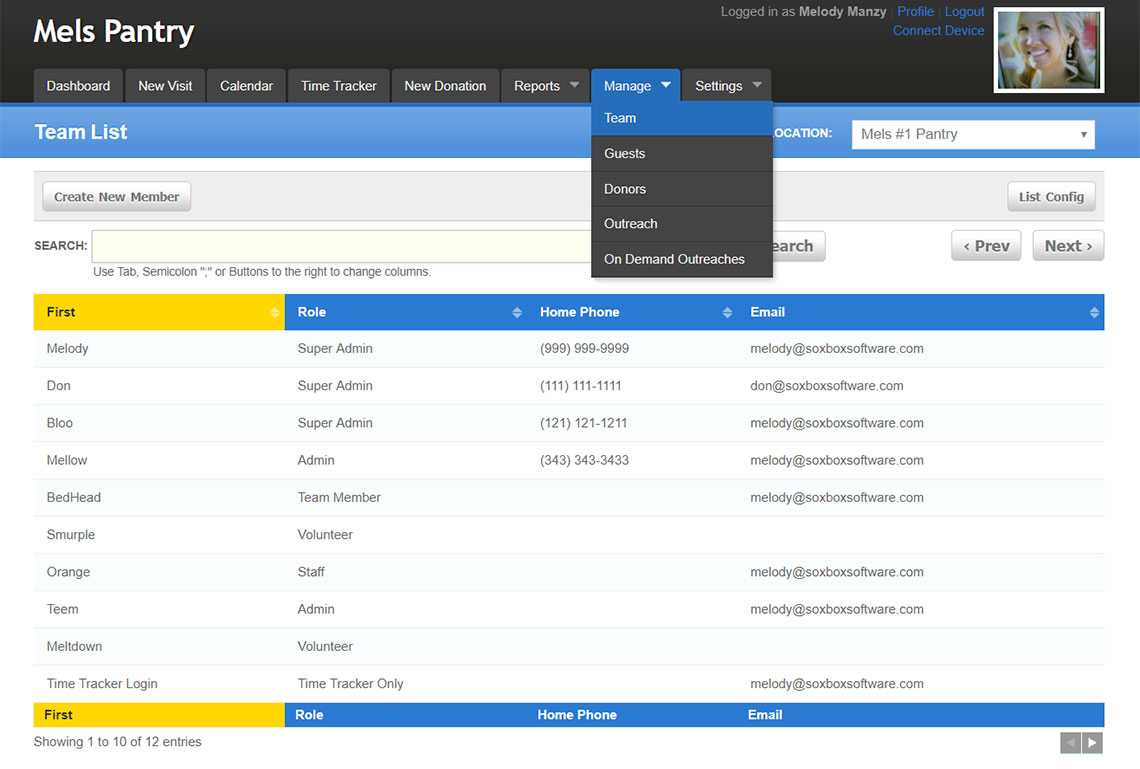
Manage Team Page
To manage your team, go to the ‘Manage’ tab and click on ‘Team’. Your team is all your volunteer, leadership and staff members.
Adding a New Team Member
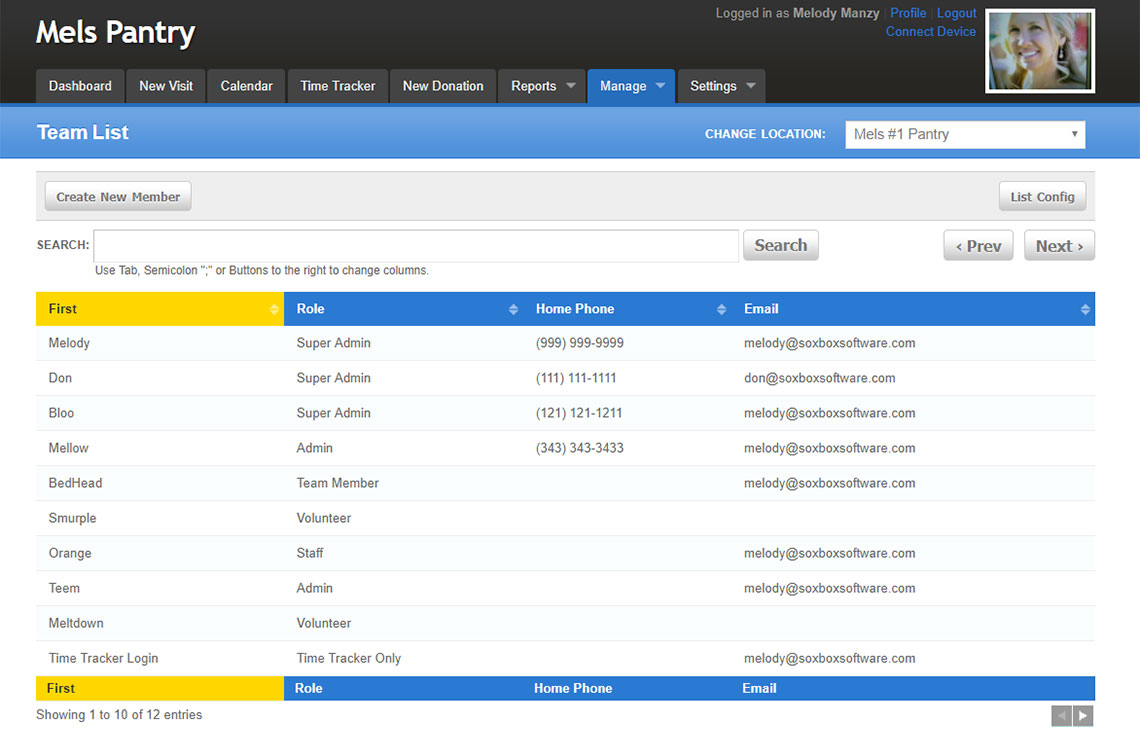
From the ‘Team List’ page you can add a new member or search for an existing person.
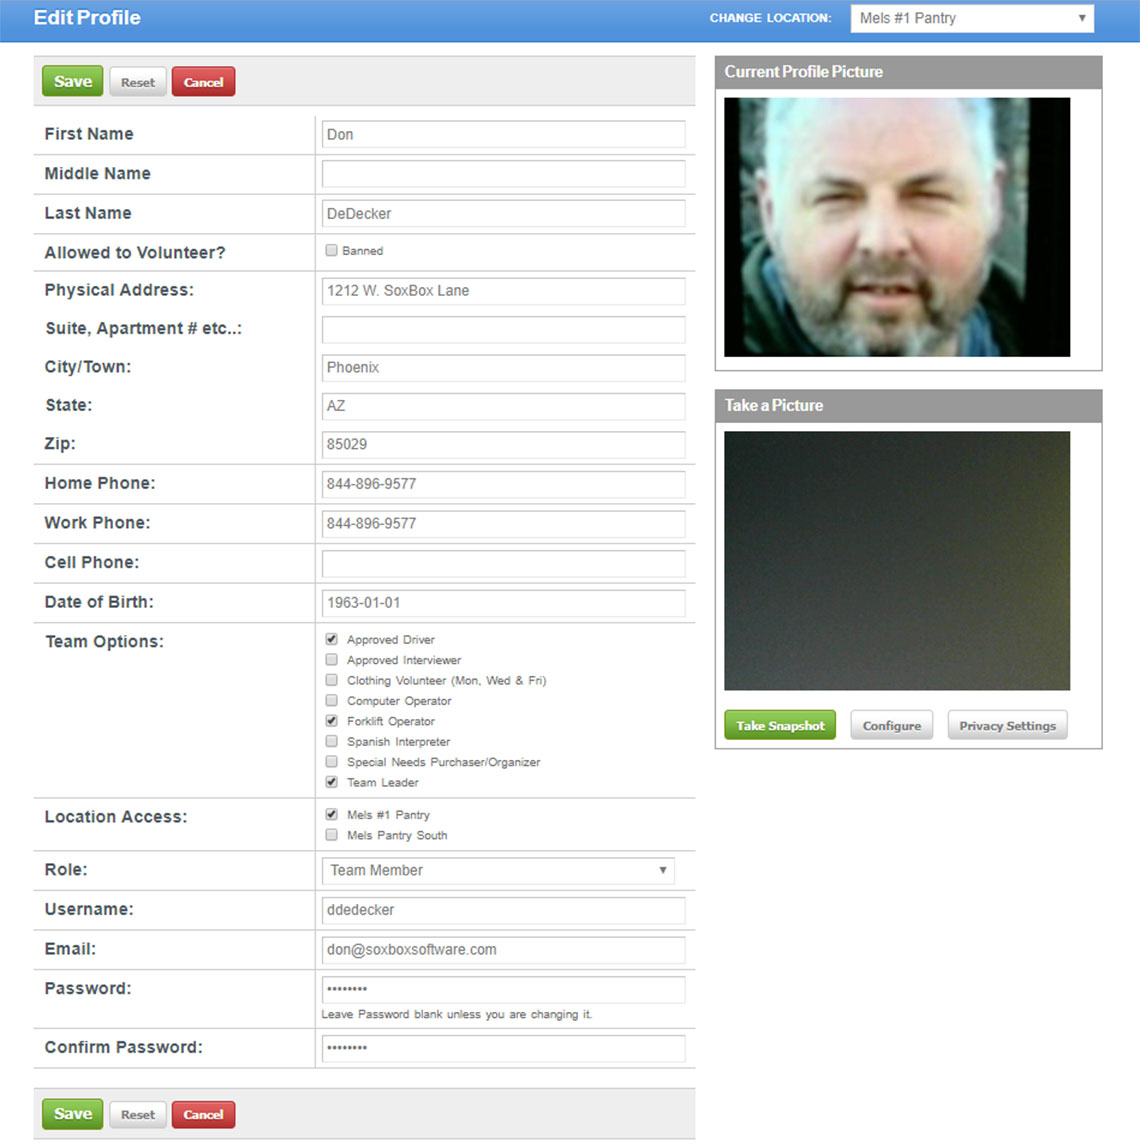
To add a new member, click on ‘Create New Member’ and fill in the information your pantry has customized for the team record. Work from top to bottom to ensure inputting all the information. Once you are done, click ‘Save’.
FBM will automatically default to that team members ‘General’ page. To look for or enter another team member, simply follow the above steps again.
Find an Existing Team Member
To search for an existing team member, click in the ‘Search’ bar.
Note: For this article, we are searching by first name, role, home phone, and email. You can customize the “search by” options to better suit how your pantry is accustomed to searching.
A “less is better” approach to searching for a team member will yield more accurate results than typing in the full name of a person.
Start by typing in two or three letters of the first name, press the {TAB} key and then two or three letters of the role and press the {TAB} key again. It’s possible that you may see the team member you are looking for already, but if not, type in the home phone number and press the {TAB} key again. If you still do not find who you are looking for continue to email, but remember…just a few characters. Please notice that as you ‘Tab’ through, the column changes to gold. This lets you know what column you are working in. Try it on your system, press tab a few times and {SHIFT} + {TAB} to move backwards.

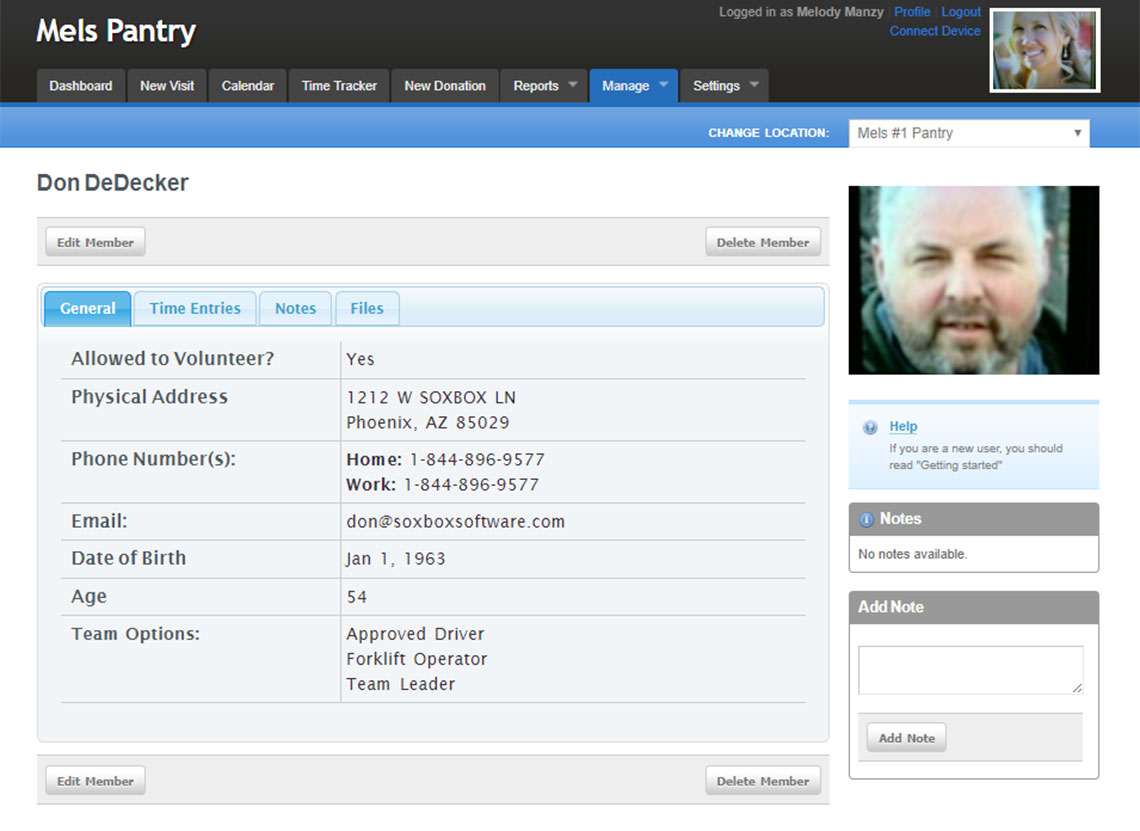
The General Tab
Once you find the person you are looking for, click on their name. This will take you to their ‘General’ tab. This is a view of what is in their record.
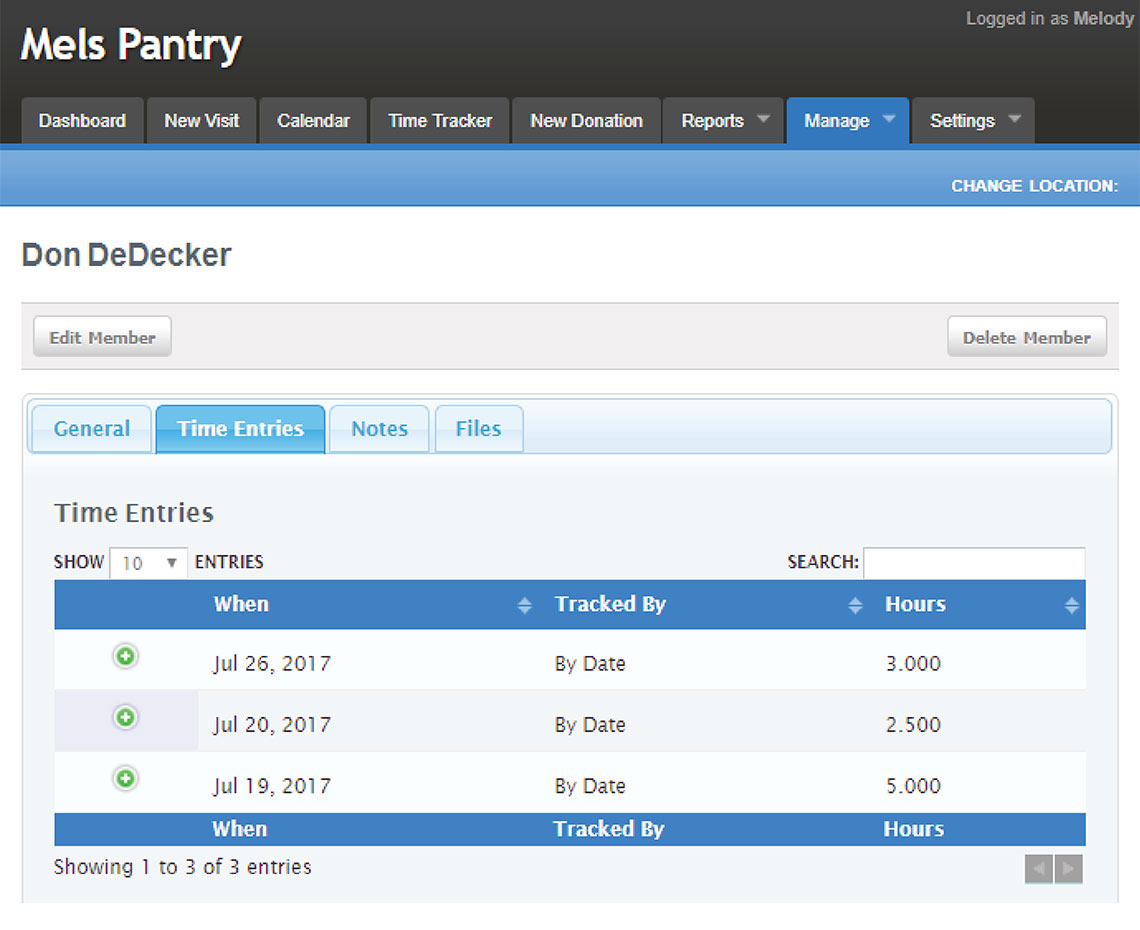
Time Entries Tab
To view the time entry history of this team member, click on the ‘Time Entries’ tab. This page shows you the date they logged hours, if the time was assigned to an outreach or just recorded by date and how many hours were worked.
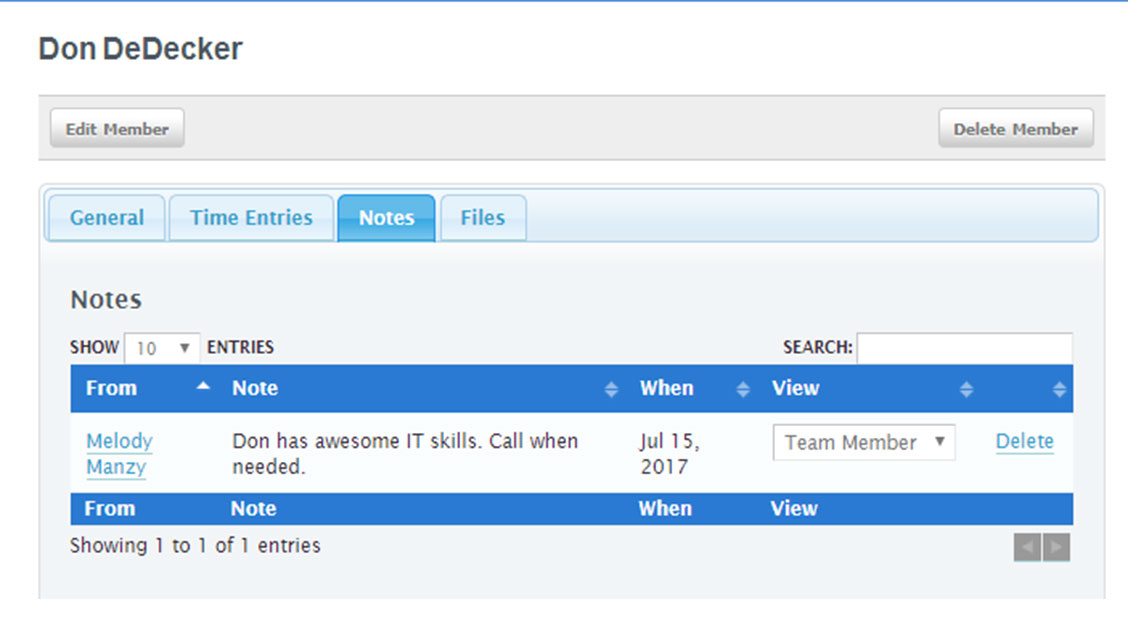
Notes Tab
The ‘Notes’ tab is a view of all the notes that have been entered into the notes field. This page shows you the note, who entered the note and the date. There is also a delete option for the note.
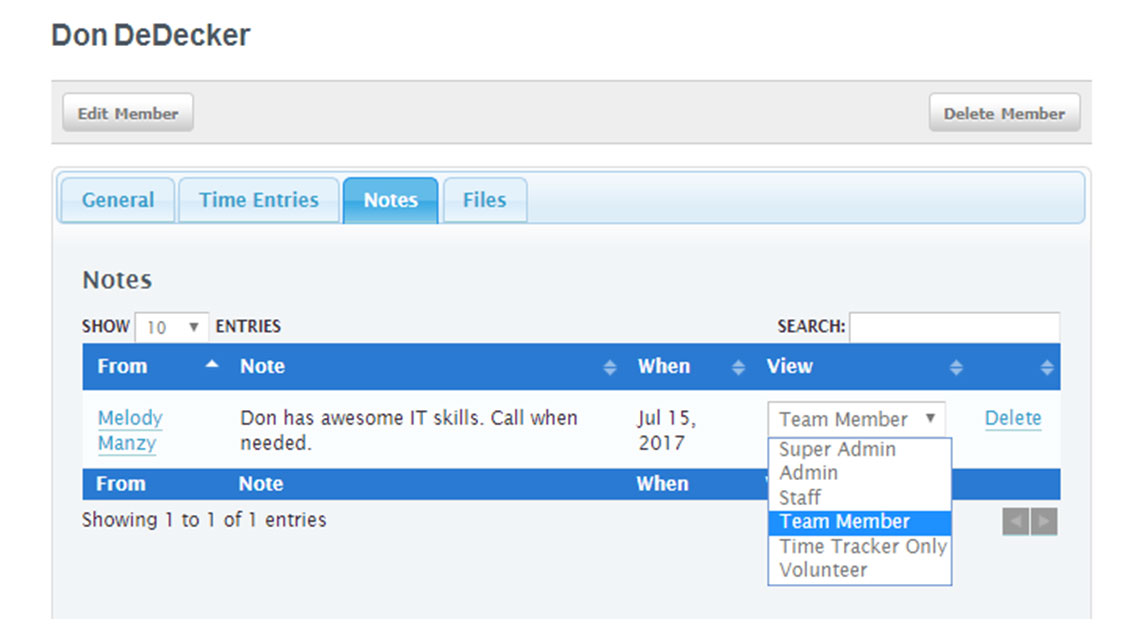
Sometimes notes regarding a volunteer or staff member may be sensitive and only selected roles should be able to view that note. You can set which role will be able to see the note using the 'View' setting.
Files Tab
The ‘Files’ tab is for uploading information into the team member record. Give the file a name, choose the file to upload and click on ‘Upload File’. Once a file is uploaded you can view or delete the file by clicking on the appropriate link.

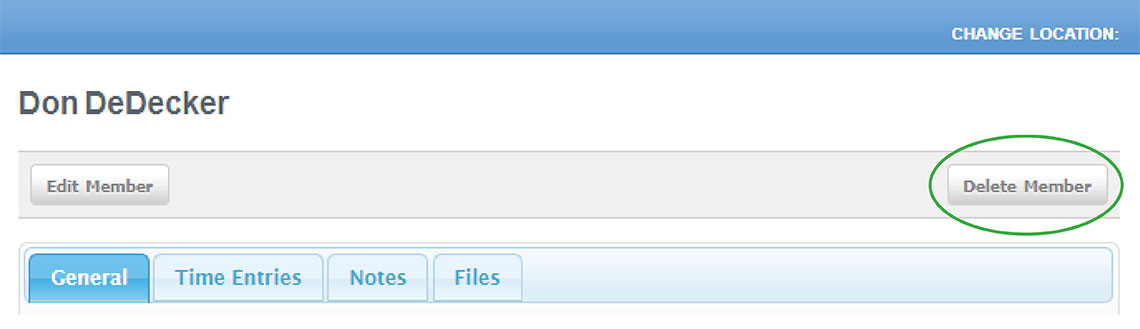
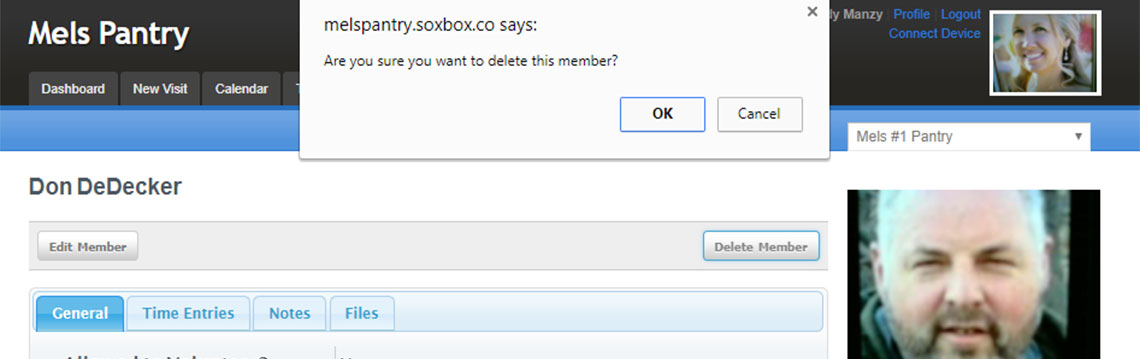
Delete a Team Member
To delete a team member, click on the ‘Delete Member’ button. A pop-up will ask ‘Are you sure you want to delete this member?’. Click ‘OK’ to delete. This action can’t be undone, so please make sure you do want to delete the member before clicking ‘OK’.
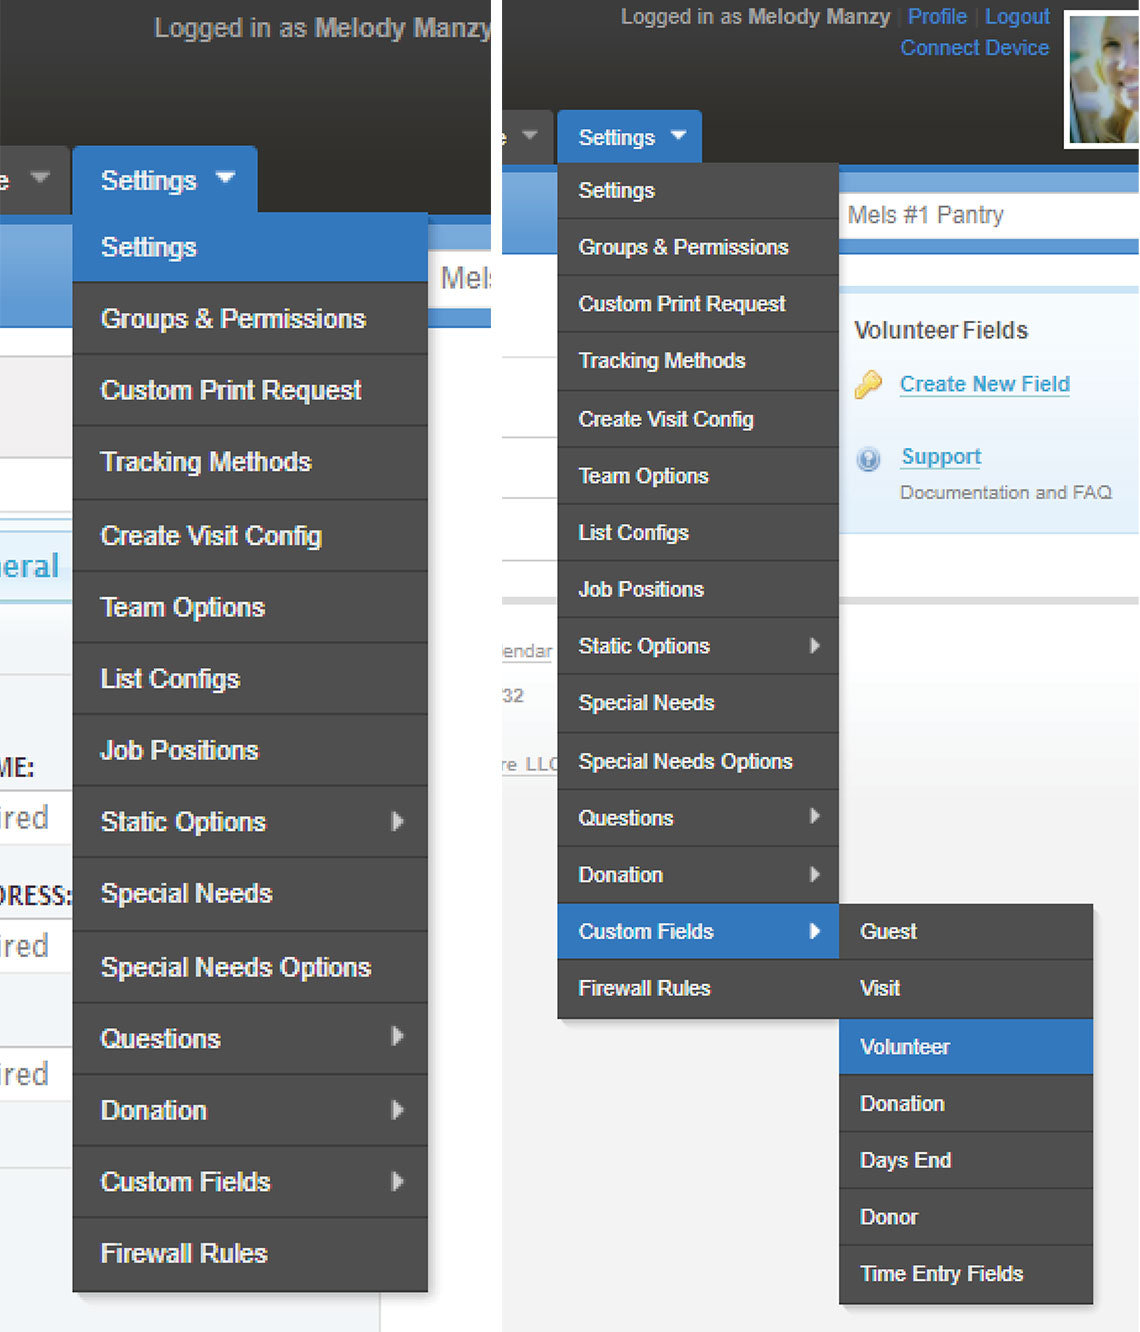
Customize Team Records
To customize the team data, go to Settings > Settings > Team & Settings > Custom Fields > Volunteer.